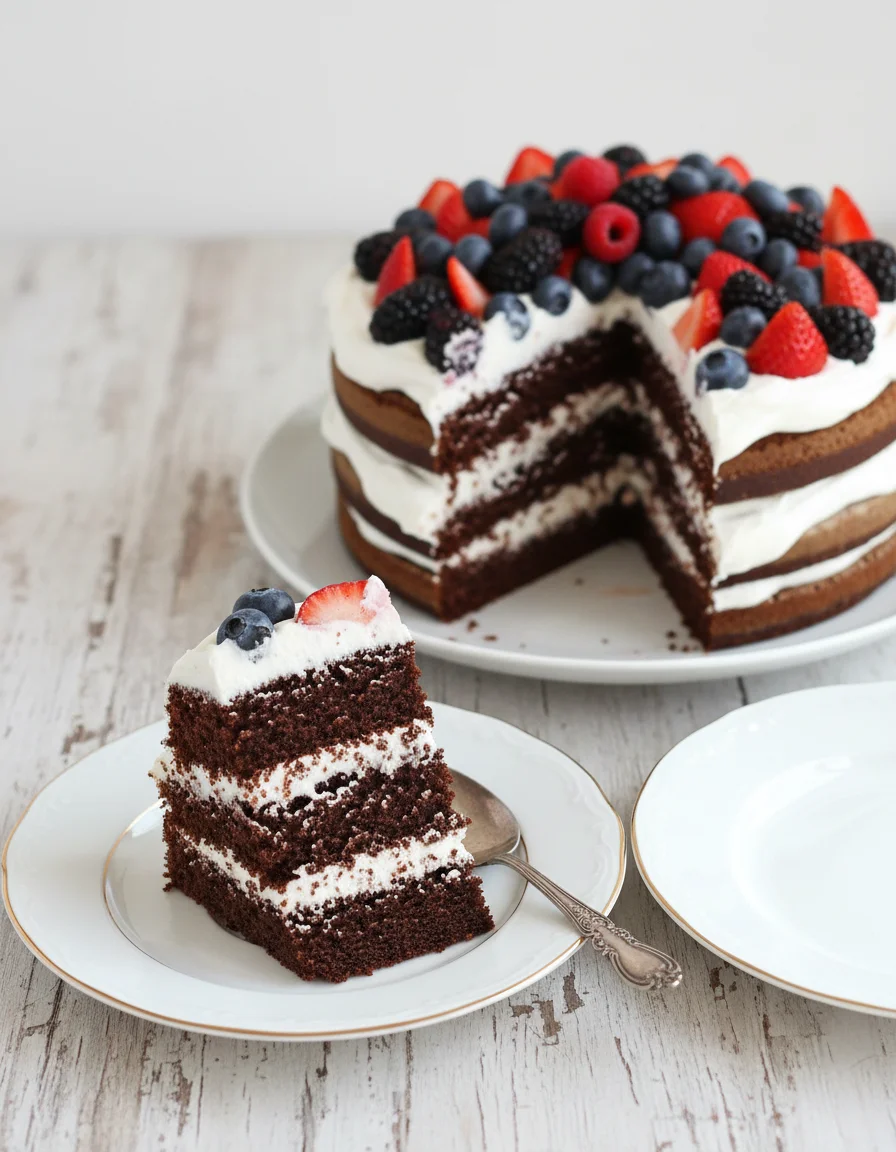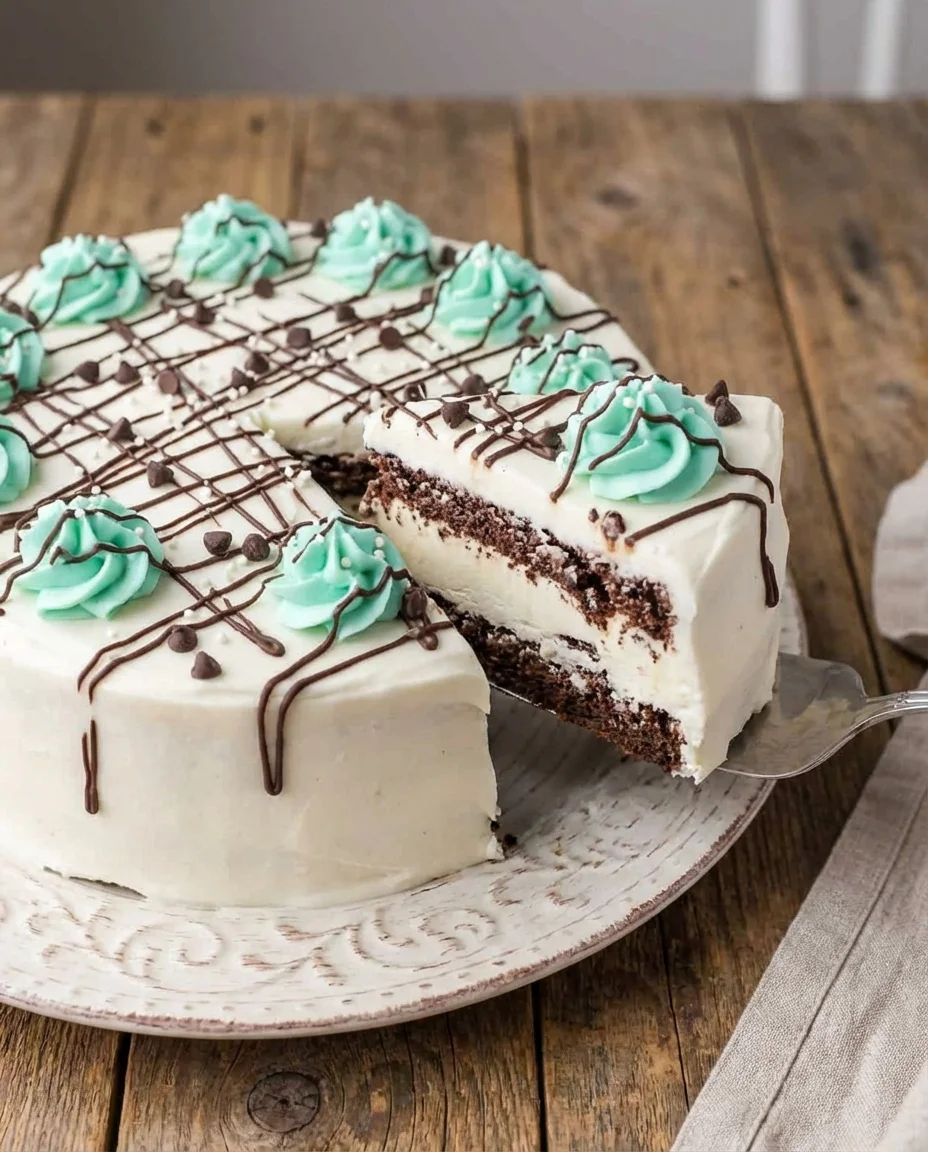
Gluten-Free Ice Cream Cake
This Gluten-Free Ice Cream Cake recipe features two rich chocolate cake layers, a creamy vanilla vegan ice cream center, and a decadently smooth vegan vanilla frosting. It's a delightful, allergy-friendly twist on classic layered ice cream cakes, perfect for celebrations.
Price per Serving
Instructions
- 1
Preheat oven to 350 degrees F (175 C).
- 2
Grease the edges of two 8-inch round cake pans.
- 3
In a small bowl, combine almond milk (0.5 cup) and apple cider vinegar (1 tsp).
- 4
In a medium bowl, whisk together cocoa powder (0.5 cup), gluten-free baking flour (0.5 cup), gluten-free baking flour (2 tbsp), baking soda (0.5 tsp), baking powder (1 tsp), sea salt (0.25 tsp), cane sugar (0.25 cup), and brown sugar (0.25 cup).
- 5
Make a well in the dry ingredients. Add the mixture of ground flaxseed (2 tbsp) (prepared with water (6 tbsp)), vanilla extract (0.5 tsp), vegan buttery spread (3 tbsp), and the almond milk (0.5 cup)/apple cider vinegar (1 tsp) mixture. Whisk until fully incorporated.
- 6
Divide the batter evenly between the two cake pans and smooth the tops with a spatula.
- 7
Bake for 12-15 minutes, or until a toothpick inserted into the center comes out clean. Let the cakes cool in the pans for 10 minutes, then transfer to a cooling rack to cool completely.
- 8
Line one of the used cake pans with parchment paper. Scoop vegan ice cream (2.5 cup) into the pan and smooth the top with a spatula. Freeze for 2-3 hours until firm.
- 9
Work quickly: Place the first cooled cake layer on a serving plate, flat side up. Invert the frozen vegan ice cream layer onto the first cake layer and peel off the parchment paper. Place the second cake layer on top. (Refer to video for visual guidance).
- 10
Frost the top and sides of the cake with vegan vanilla buttercream frosting (1 recipe).
- 11
Freeze the cake for another 2-3 hours before decorating and serving.
- 12
Decorate as desired and serve chilled.
Nutrition Facts
Per portion
Macronutrients
Micronutrients
Reviews
Be the first to review this recipe!
Rate this recipe:
No reviews yet. Be the first to share your experience!